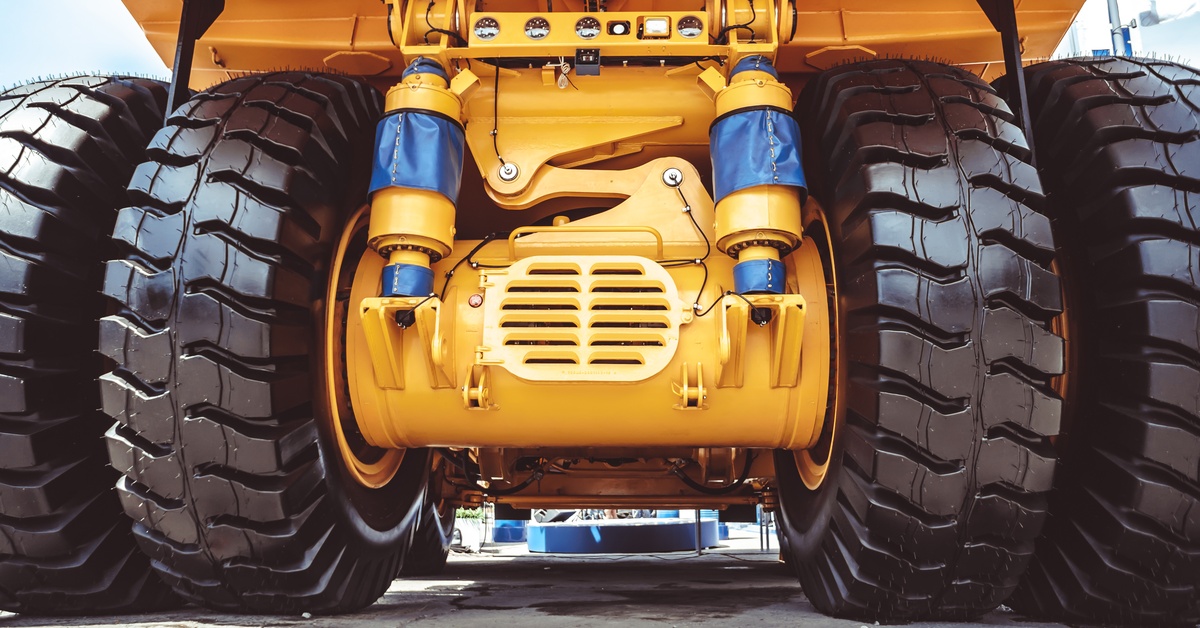
There are many components in your off-highway vehicles that require consistent and routine maintenance for successful operation. GWB-brand driveshafts, for instance, are a vital component in your system that will improve the performance and the longevity of your vehicle. Learn how to properly install and align GWB driveshafts to detect any existing damage in the system and test the equipment once it’s mounted in the vehicle.
Preparation for Installing GWB Driveshafts
The driveshaft transfers torque from the engine to other essential components in your off-highway vehicles. A properly functioning driveshaft also reduces vibrations and improves vehicle stability. Investment in quality components and proper installation directly impacts the reliability and longevity of your machinery.
Inspecting the Components and Workplace Readiness
The first step toward a successful installation is inspecting the driveshaft and other parts for defects. Damaged splines, worn universal joints, or misaligned bearings can hinder the installation process or lead to premature failure.
Additionally, gather all necessary tools, and create a well-lit, organized workspace to prevent delays or accidents during the installation.
Reviewing Technical Documentation and Specifications
Every GWB driveshaft comes with detailed technical documentation outlining its unique specifications. Carefully review these materials to understand recommended torque values, alignment parameters, and safety protocols. Reading through these documents ahead of time will give you the confidence to carry out the installation process more efficiently and accurately.
Removing Old or Damaged Driveshafts

Removing your old GWB driveshaft carefully will prevent further complications during installation. Be mindful of any loose parts, and confirm the compatibility with the new unit before installing it into your vehicle.
Loosening Bolts and Shaft Couplings
Begin by carefully loosening the bolts and couplings that secure the driveshaft to adjoining components. Applying proper counterforces during this procedure prevents undue stress on surrounding parts. Also, never use excessive torque, as this can strip bolts or damage other fittings.
Securing the Shaft During Removal
To avoid accidents or damage, always secure the driveshaft with appropriate support tools, such as hoists or straps, as you detach it from the vehicle. This precaution prevents the shaft from falling unexpectedly and damaging other parts.
Inspecting Mating Components for Wear or Damage
Once you remove the shaft, closely examine the mating surfaces for visible signs of wear or misalignment. This includes components in your system such as flanges and yoke assemblies. If any components show excessive wear, replace these parts immediately to avoid future complications during operation.
Positioning and Installing GWB Driveshafts
After successfully removing the old components and checking the system for damage, you’ll be able to properly install and align a new GWB driveshaft into the system. Using the right tools, secure and tighten your driveshaft into its correct orientation.
Proper Orientation of the Driveshaft
Focus on positioning the driveshaft in accordance with the manufacturer’s orientation guidelines. Align the splines and flange fittings carefully to reduce the risk of vibration or stress fractures during operation. Keep in mind that a small deviation at this stage can grow into a larger misalignment issue later.
Tightening Bolts to Specified Torque Parameters
After positioning the driveshaft, use calibrated torque wrenches to fasten bolts to the recommended specifications. Over-tightening or under-tightening may compromise the connection’s integrity and lead to potential failures under high stress.
Verifying Centerline Positioning
As you install the component, align the driveshaft’s centerline properly with adjoining components to prevent rotational imbalance. Verifying this alignment is important to the installation process, as this will determine if the driveshaft properly stays mounted in place. If there are any deviations from recommended specifications, make the necessary adjustments before the final tightening.
Aligning the GWB Driveshaft Properly
A successful driveshaft alignment prevents vibrations, uneven wear, and resonance issues. Proper mounting will allow the assembly to perform at peak efficiency, extending the operational lifespan of all powertrain elements involved.
Identifying Signs of Misalignment
Begin by identifying misalignment through diagnostic measures, such as inspecting for uneven wear patterns on bearings or connecting components. Tools such as laser alignment systems or dial indicators provide precise visual confirmation of problematic areas.
Adjusting Angles and Axial Alignment
Correcting angular misalignment involves precision tools to fine-tune axis positions of mating components. Focus on achieving parallel or concentric configurations for both vertical and horizontal alignments while continually referencing technical documentation.
Rechecking All Connections After Adjustment
Once the alignment corrections are complete, recheck all connections to confirm stability and integrity. Loose bolts or misaligned fittings can cause mechanical strain that grows more severe during extended use, so take time to double-check for any issues.
Testing and Final Validation

Once you secure the system, comprehensive testing and validation will determine if the driveshaft is ready for operation. This is the last time you can check for any damage or weak spots, so be sure to verify that your vehicles are in peak working condition.
Slow-Speed Testing for Stability
Conduct initial tests at slow speeds to observe the behavior of the driveshaft assembly. Look for signs of excess vibration, oscillation, or abnormal noise, which may indicate misalignment or loose connections. If everything seems operational, conduct the next test for proper installation.
Analyzing Load Distribution Under Stress
Simulate operational stress by introducing heavier loads to the powertrain system. Evaluate whether torque and operational loads distribute evenly across all driveshaft components without contributing to undue wear.
Regular Monitoring During Initial Use
After completing installation, monitoring performance during the first few operational hours can identify subtler signs of potential misalignment. Documenting these observations allows technicians to make timely interventions.
Ongoing Maintenance and Preventative Care for GWB Driveshafts
The long-term success of your new installation depends on whether you follow proactive maintenance strategies and schedule repairs when necessary. Neglecting ongoing care reduces the lifespan of your GWB driveshafts and other surrounding components.
Establishing a Maintenance Schedule
Develop a routine maintenance schedule for consistent inspections, lubrication, and cleaning for all the vehicles at your company. Prioritize this schedule alongside other operational tasks to maximize vehicle reliability.
Identifying Early Signs of Wear or Misalignment
Train technicians and operators on how to notice early indicators of wear, such as uneven noise patterns, decreased performance, or subtle vibrations. Identifying problems earlier allows swift resolution before they escalate into costly repairs.
Replacing Components When Necessary
Always replace old, damaged, or worn driveshaft components promptly and properly. Delaying replacements risks exposing your vehicles to greater structural damage or reduced efficiency over time.
When these parts wear out, it’s important to replace them immediately to avoid long-term damage to your vehicles. For replacement GWB driveshaft parts that are compatible with your existing system, browse the collection at Bull Powertrain. We also offer driveline repair and other related services.

