
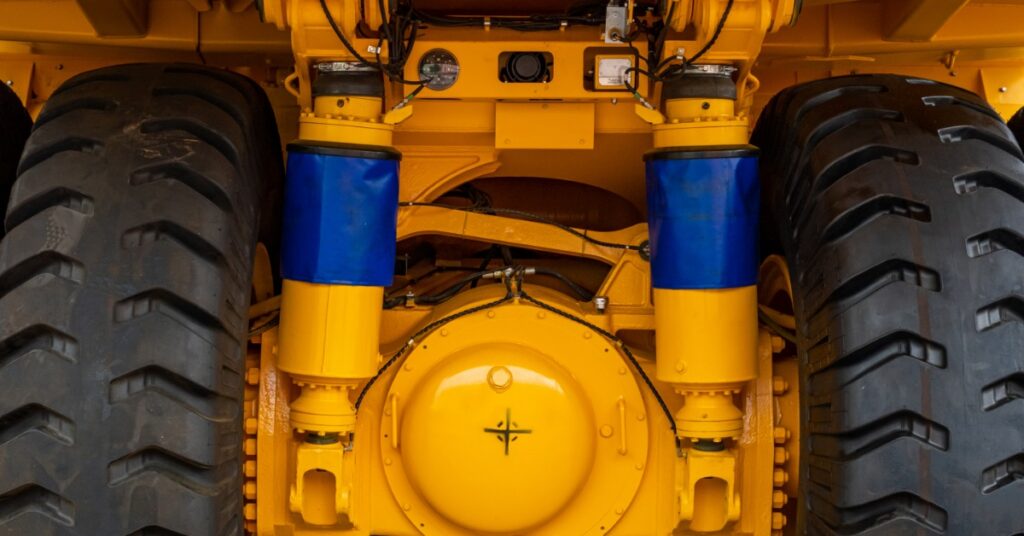
Underground mining equipment transfers high torque through the driveline during every travel cycle. The shaft assembly links the transmission to the drive axle and carries rotational force through universal joints. Each component depends on accurate alignment and steady lubrication under load. A small change in one area will alter loads throughout the assembly.
The common causes of driveline failures usually develop through wear or operating stress instead of one sudden defect. A dry joint begins binding and vibration then reaches nearby bearings. A bent tube moves the rotating mass off-center, and each revolution increases the load. Understanding those links lets maintenance teams address the root cause before one damaged part disrupts the machine.
1. Worn Universal Joints Spread Vibration
Universal joints transmit torque through changing operating angles. Needle bearings inside each cap roll across the trunnion during every revolution. Once a seal loses grease, the bearing surfaces begin dragging against one another. The joint then develops stiffness or looseness that spreads vibration through the yokes and shaft tube.
Inspect Joint Movement and Lubrication
First, secure the machine and remove driveline load according to the service procedure. Clean each bearing cap and grease fitting before moving the joint through its full range. Smooth movement should remain consistent in every direction with no catching near the center. Use a pry bar only at the approved points to prevent excessive force that will distort the clearance reading.
Next, check each cap for side play and inspect the seals for displaced lips or grease leakage. Apply the lubricant until fresh grease reaches every cap on a greaseable joint. If one cap remains dry, remove the joint to ensure there isn’t any hardened grease or internal damage blocking the passage.

2. Center Bearing Wear Destabilizes Shafts
Long drivelines may use two shaft sections with a center bearing between them. The bearing controls the shaft path and a rubber cushion isolates normal movement from the mounting bracket. Heat hardens the cushion until cracks form around the support. Once separation begins, the shaft sags under acceleration and changes both joint angles.
Check Support Condition and Mounting
Begin by cleaning debris from the cushion and bracket to make the small cracks visible. Lift the shaft gently near the bearing, and watch how the rubber support responds. Excess movement or visible separation shows that the cushion no longer holds the shaft near the centerline.
After checking the cushion, inspect the mounting surface and bracket hardware. Measure the support height before removal and install the replacement in the same position. Rotate the shaft by hand after tightening the hardware to confirm free movement near the bracket. Then, check the adjacent joints afterward because support movement may have changed their operating angles.
3. Incorrect Angles Overload Universal Joints
An angled universal joint produces a small output speed change during each revolution. A second joint offsets that variation only when both operating angles match. Unequal angles create a repeating speed fluctuation that reaches the driver as cyclic vibration. Mount wear or driveline modification commonly changes those angles and accelerates joint wear.
Measure Angles After Equipment Changes
Park the machine on a level surface with its normal operating load in place. Record the transmission output angle and shaft angle with an angle gauge. Then, measure the shaft angle and axle input angle at the opposite joint.
Compare both joint angles with the manufacturer limits before changing any parts. Inspect the mounts and support locations if the readings differ. After restoring component position, repeat every measurement and confirm that the yokes remain in the specified phase.
4. Driveline Imbalance Intensifies Vibration
A driveshaft must rotate around a stable centerline. Bent tubing or a missing balance weight shifts mass away from that line. Packed mud produces a similar condition after travel through wet ground. As shaft speed rises, the imbalance pushes against joints and support bearings during every revolution.
Balance the Complete Shaft Assembly
Clean the shaft and mark each mating position before disassembly. Inspect the tube for dents and examine every balance weight for cracked welds. Next, measure runout with a dial indicator at several points along the shaft.
Repair excessive runout before testing the complete rotating assembly on balancing equipment. Add correction weight only at the measured location, and repeat the test until readings meet the specified tolerance. Inspect attaching flanges and remove dirt or burrs that prevent flat seating. Finally, it’s time to reinstall the shaft with its original phasing marks aligned prior to a controlled operating test.

5. Contamination Damages Slip Splines
Slip splines let the driveline change length as the axle moves relative to the transmission. Grease separates the mating teeth during suspension travel and load changes. A torn boot lets abrasive grit enter the spline area and contaminate that protective film. The teeth then wear unevenly until the slip section binds and releases with a clunk.
Clean and Lubricate Slip Splines
Clean the boot and grease fitting before opening the slip section. Mark the shaft relationship, so the splines return to their original phase during assembly. Remove the section, and wipe old grease from every tooth before inspecting the surfaces.
Check the spline faces for corrosion and polished steps that indicate repeated binding. Replace damaged seals, and spread the specified grease across the complete tooth surface. Reassemble the shaft to its marks and move the slip section by hand to confirm smooth travel. Confirm the boot clamps seat evenly to protect the fresh lubricant underground.
6. Shock Loads Crack Driveline Components
A driveline handles steady torque during standard travel. Sudden traction or abrupt direction changes create a sharp torque spike through the shaft. One tire may catch a rock ledge after spinning on loose ground. The released energy twists splines and strains yoke ears until small cracks form near welds or bearing bores.
Inspect Components After Heavy Impacts
Record any severe bind or traction event before the next shift. Then, clean the shaft and inspect each yoke ear under direct lighting. Focus on weld toes and bearing cap bores because stress concentrates near those areas.
Use magnetic particle inspection on steel parts after a severe torque spike. Check spline fit and shaft runout before reinstalling the assembly. Complete a controlled load test and investigate any new vibration or clunking before production resumes.
Protect Driveline Performance Through Service
Understanding how to prevent common driveline failures lets technicians connect each symptom to a mechanical change. A structured inspection limits secondary damage and keeps service focused on the source.
Bull Powertrain specializes in custom drivelines for underground mining equipment. With a focus on quality, our team will provide the complete assemblies and premium repair work your off-highway equipment demands.